
Overland Drawer System Build!
* I’ve got a lot of questions regarding the RIGID Professional Tool boxes that I use for storing my Overlanding gear. Check them out HERE!


After a few trips off-roading and camping with a family of 5 it became very apparent that I needed a way to better organize our gear. So like many others before me I decided to build a drawer system to go into the back of my XJ. I started by building a plywood enclosure, which was basically two sides and a center divider all of the same dimension and a top and back piece to fit. I based my dimensions on my XJ. The requirements I had were to be able to fit between the fenders, fill up all the space between the gate and back seat and be able to secure it to the factory tie down points. After cutting all the pieces for the carcass, I assembled everything using a Kreg Jig and pocket screws.

The next step was to build the drawers. There are a couple of things that you have to take into account when measuring for the drawers. First, depending on which drawer slides you are using you have to leave enough room for them. The slides I used required me to leave 1/2” on each side of the drawer for clearance. The other thing I had to take into account was the plastic lip on the rear of the Jeep. Because of this I couldn’t take full advantage of the height of the carcass because if I did the drawers wouldn’t be able to open. Once I was confident in my drawer sizes I again built them from plywood and used pocket hole joinery to build them. I also decided I wanted to build a slide out work surface into one of the drawers. The same process for sizing is required here as well. Once the drawers were built I mounted the drawer slides and did a test fit. A lot of people us locking drawer slides so they can lock the drawers in and out, but they are a little on the expensive side and I already had some standard full extension drawer slides so that is what I used along with a locking mechanism I will show below and honestly I haven’t seen the need for a more advanced system.

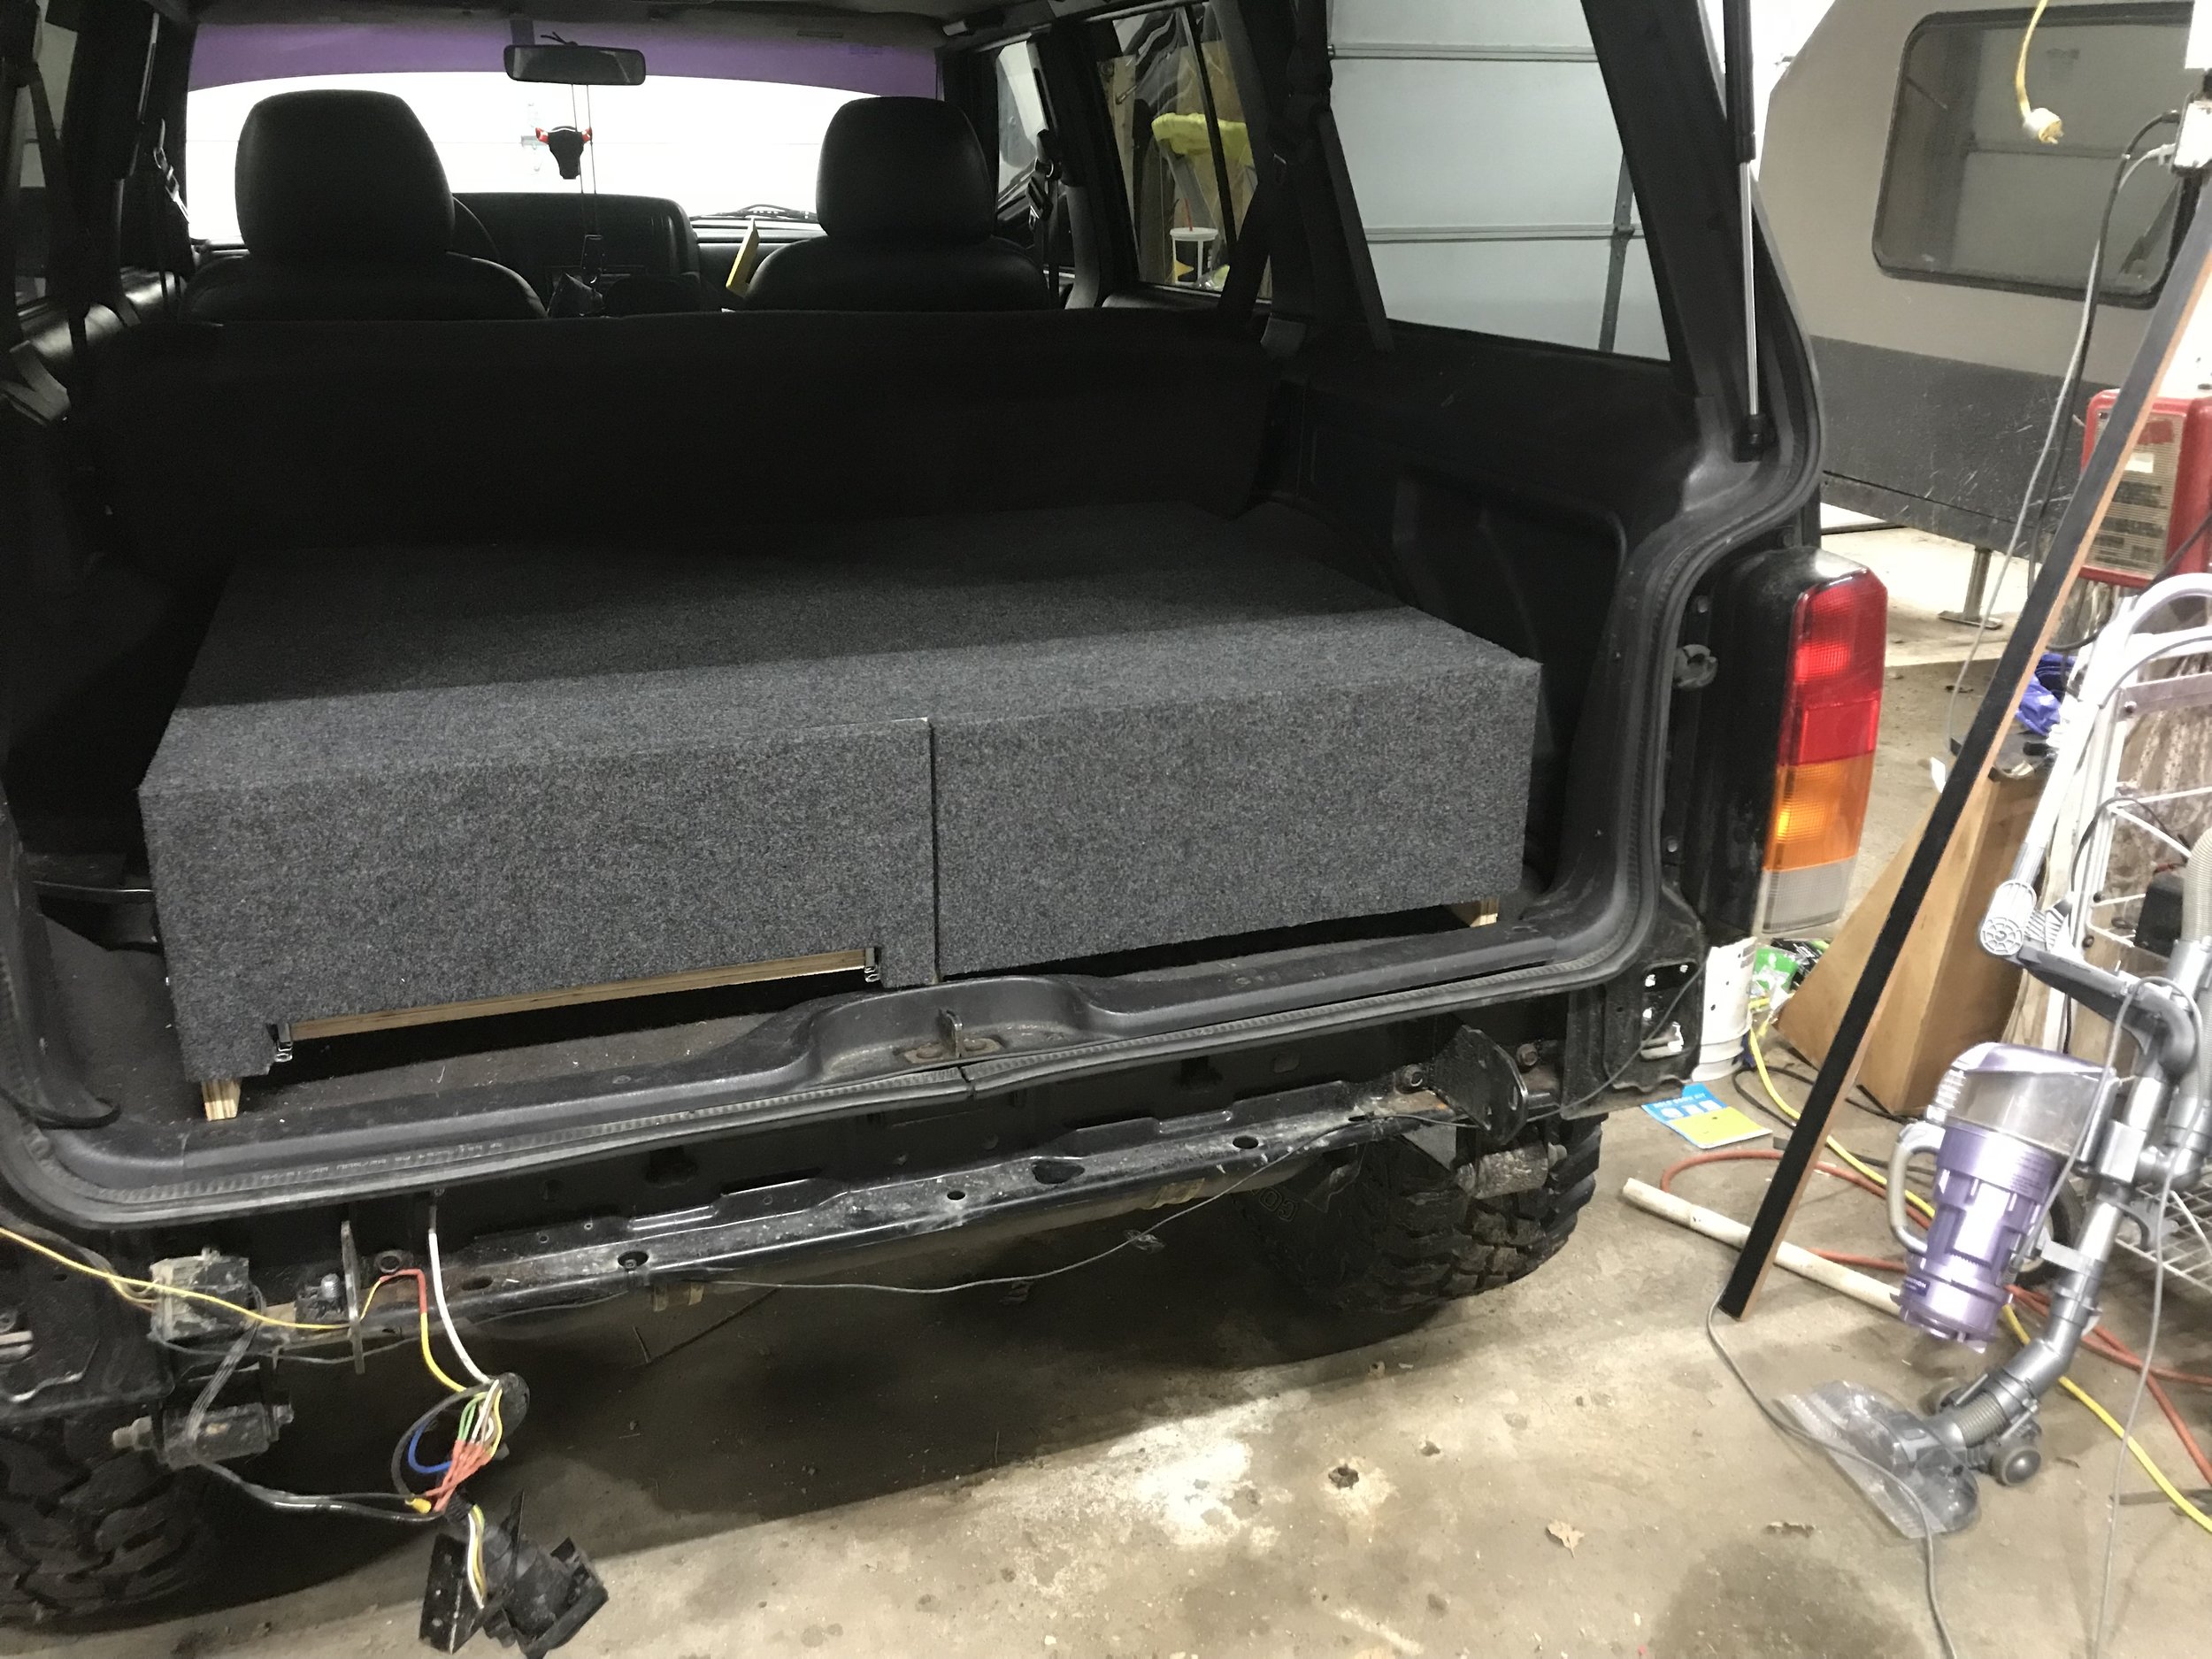
Once I knew everything was operational, I then cut 2 drawer fronts and covered them and the top of the box in carpet. I prefer to use speaker box carpet because it is easy to stretch and hides seams well. I chose charcoal because it matched my interior well, but there are several different options. To attach the carpet to the plywood I used 3M Super 77. It is a multipurpose spray adhesive that I have used for years, but there may be a more application specific spray out there. I did not cover the sides as I was originally planning on adding “wings” to the box to cover the gap around the fender well, but I have since sold the jeep and that never happened.

The last step was to add a locking mechanism. I don’t have any close up pictures of this, but I added a cam action window sash lock to each of the drawers to hold them shut. I also used this method on the drawers in my Off-Road Overland Camper and they have worked great. To hold the drawers open, I simply drilled a hole through the drawer into the sides the diameter of a golf tee. When the drawer is fully open, I can push the golf tee in the hole and it holds the drawer out. When I’m ready to close it, I just pull the golf tee out about a half inch and the drawer will shut. Most of the time I don’t even use this feature. Only if I am parked on enough of a down hill slope that the drawer is trying to shut itself.
